I’ve been experimenting with HDR (High Dynamic Range) photography for the past few weeks, and thought I would do a blog post on how to create HDR photos and show some sample high dynamic range shots of the Jaguar F-Type that I got for free.
HDR is a technique used in imaging and photography to reproduce a greater dynamic range of luminosity than is possible with standard digital imaging or photographic techniques. An HDR image is commonly made by taking three photos of the same scene, each at different exposure values. The will result is a bright, medium, and dark photo. The images are then loaded into HDR software, which will merge the images into a single HDR image.
Equipment Needed To Take HDR Photos
You really only need two pieces of hardware to do HDR. The first is the digital camera. You will need a camera that can do exposure bracketing. Ideally, you’ll want a camera that can do autobracketing. Instead of manually taking the bright, medium, and dark photo, autobracketing will do it all for you with the press of the shutter button.
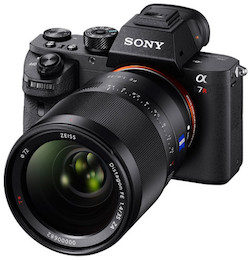 Not only does my Sony A7R II and Sony RX100 IV do autobracketing, it even has an adjustable timer. I generally set it to fire off the bracketed shots two seconds after I’ve pushed the shutter button. This ensure zero camera shakes and cleaner images.
The other piece of equipment you’ll need is a good tripod. The bright, medium, and dark images have to be exactly the same (only the exposure value changes between shots). That means your camera can not move while taking the pictures. While it is possible to take handheld HDR photos if you have steady hands and a camera with a super fast shutter (the Sony RX100 can fire off 16 shots in one second), a tripod is recommended for the best results. The tripods I use are the Rick carbon fiber tripod from 3 Legged Thing, and the Globetrotter by MeFOTO. It’s also made of carbon fiber.
After taking the photos, the last thing you need to do is load them into the HDR software. I use Aurora HDR Pro. It’s only available for the Mac. If you’re on a PC, the best HDR software is Photomatix Pro. Aurora HDR is extremely easy to use. Check out the demo below.
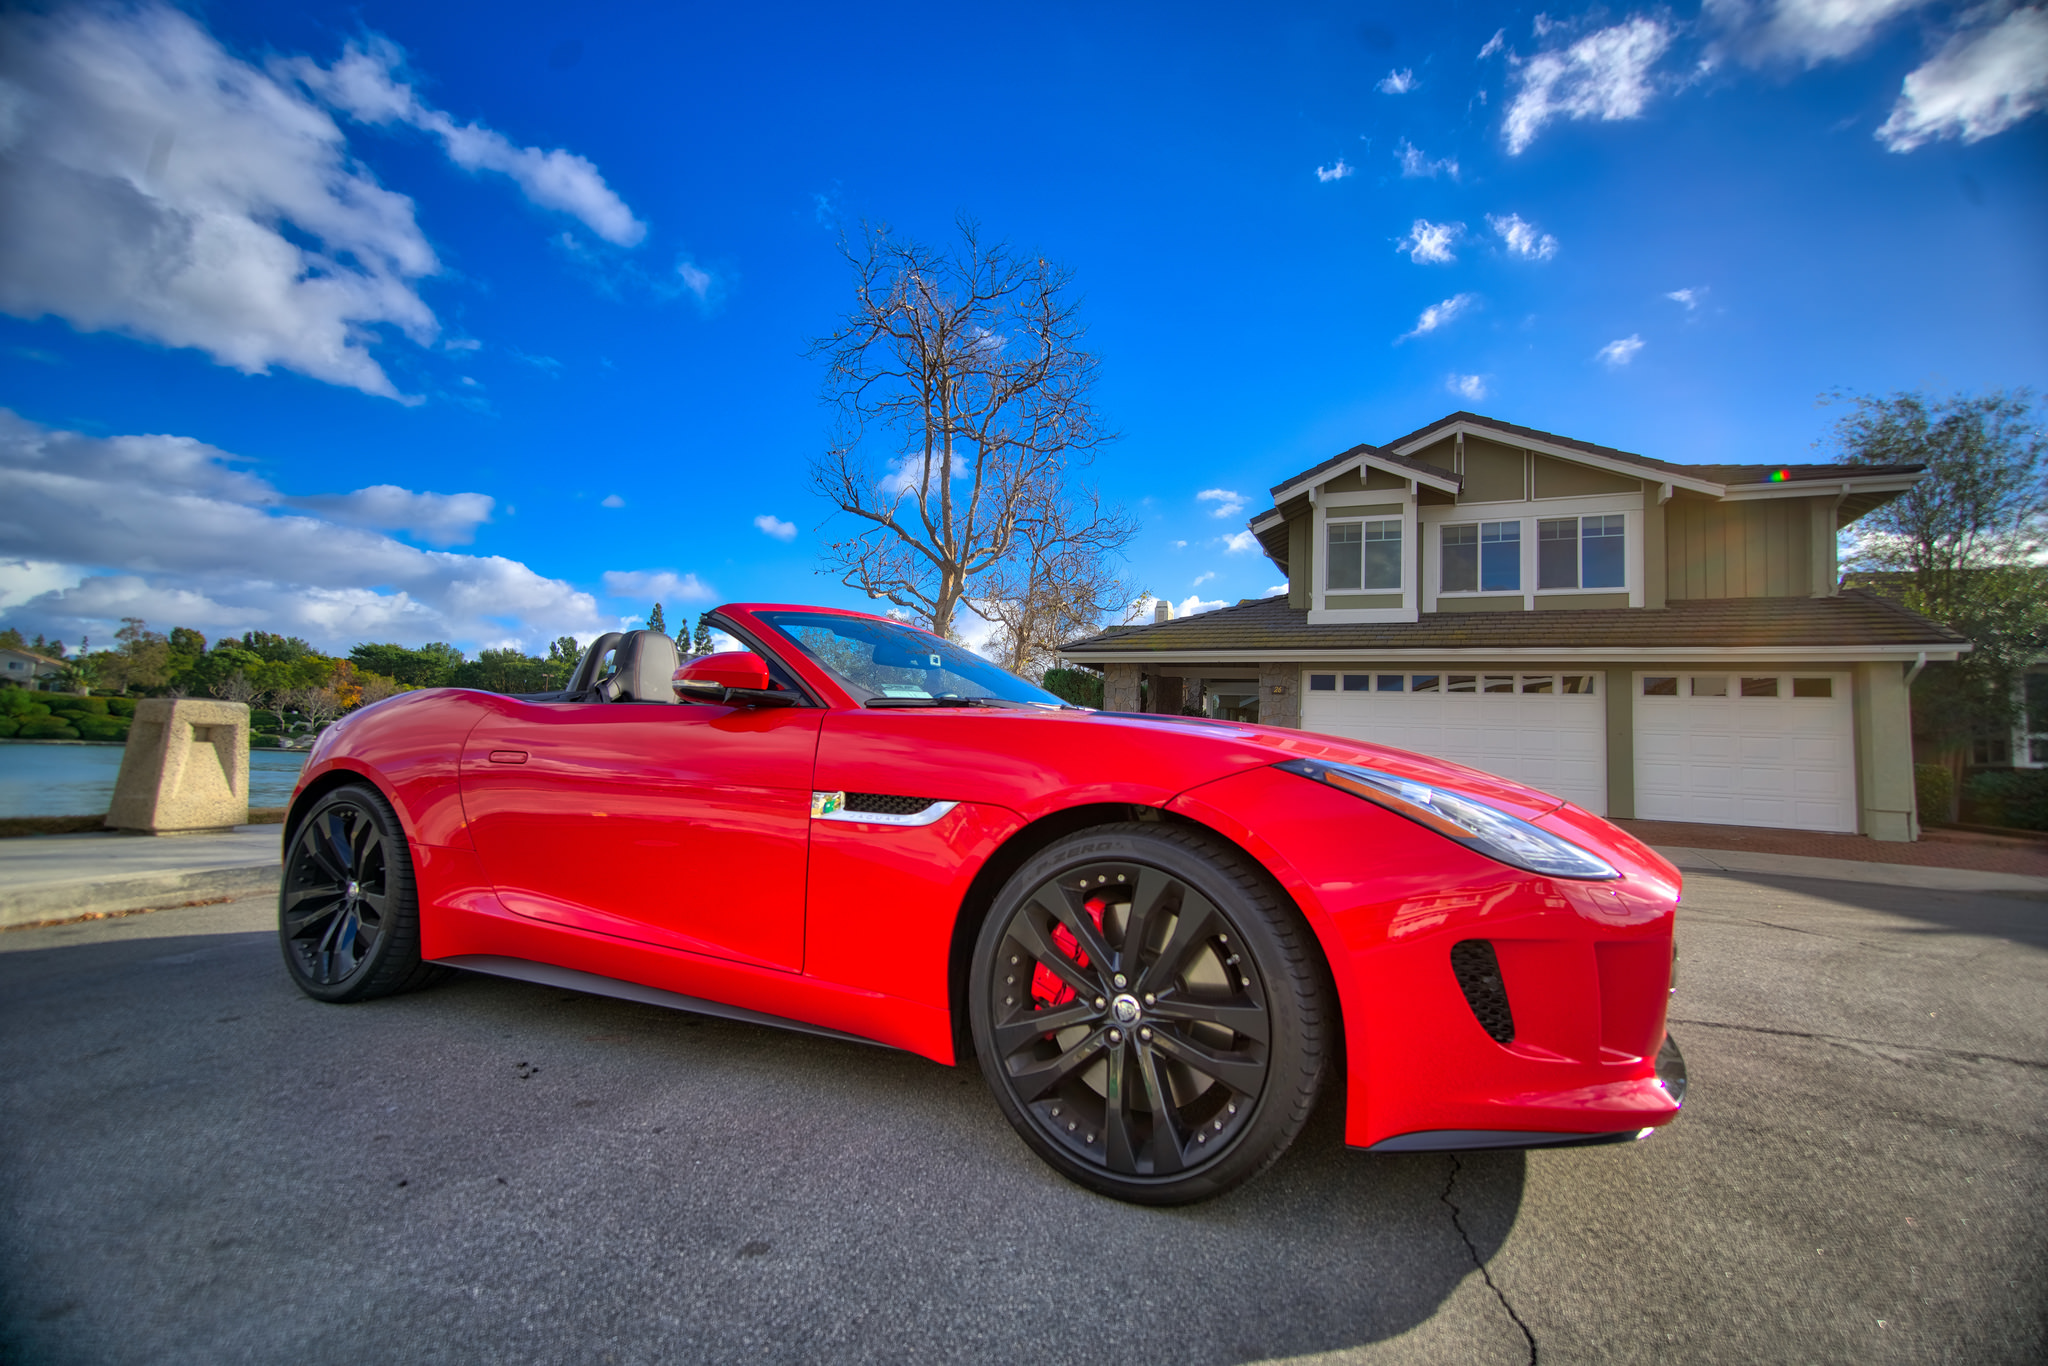
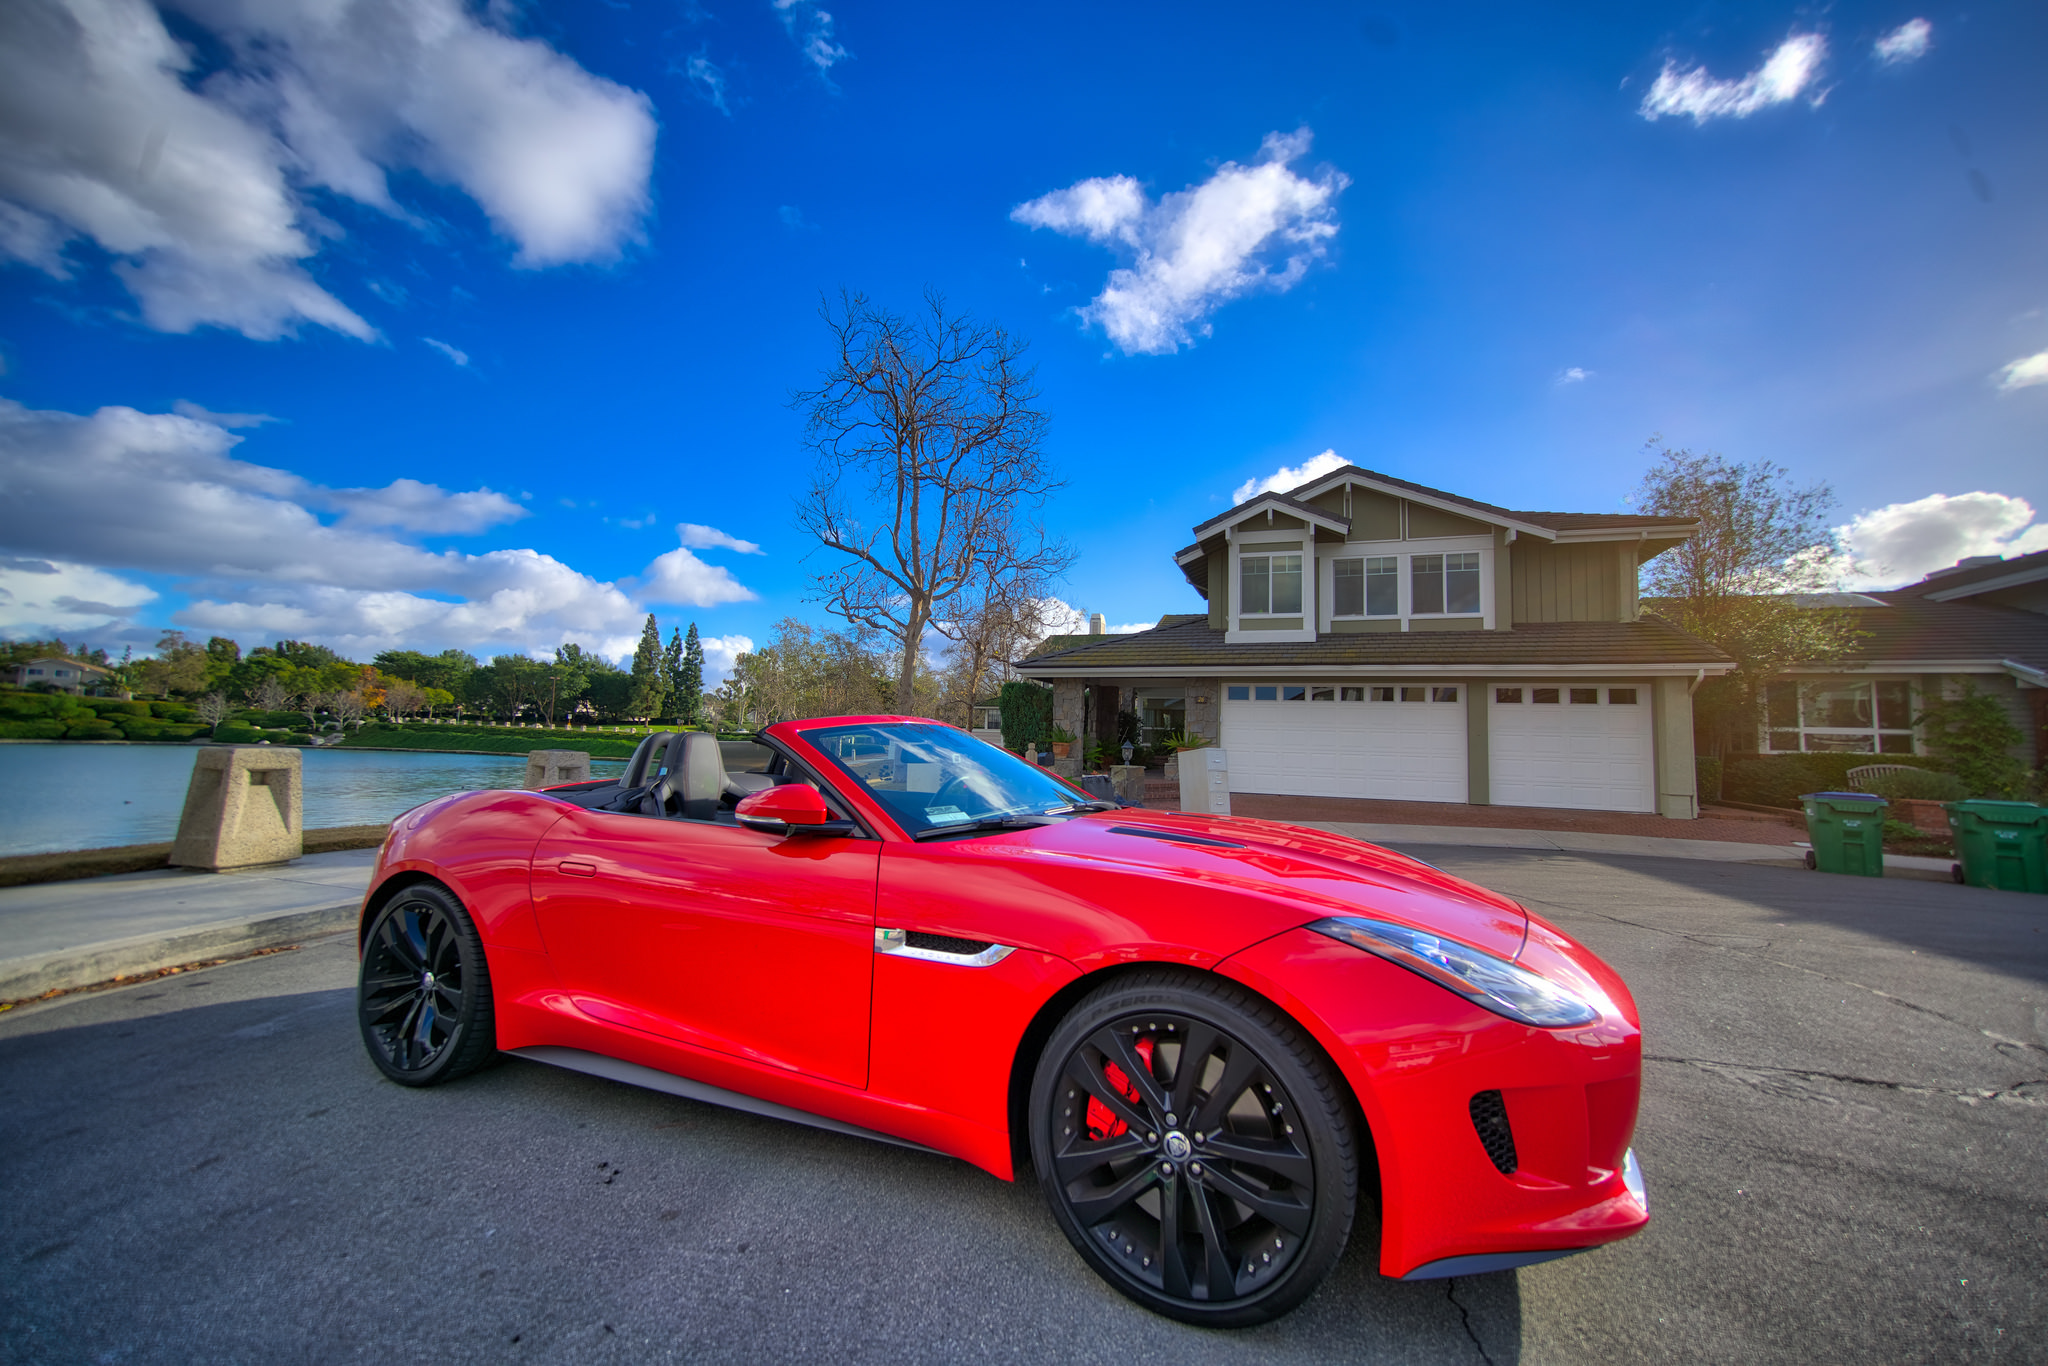
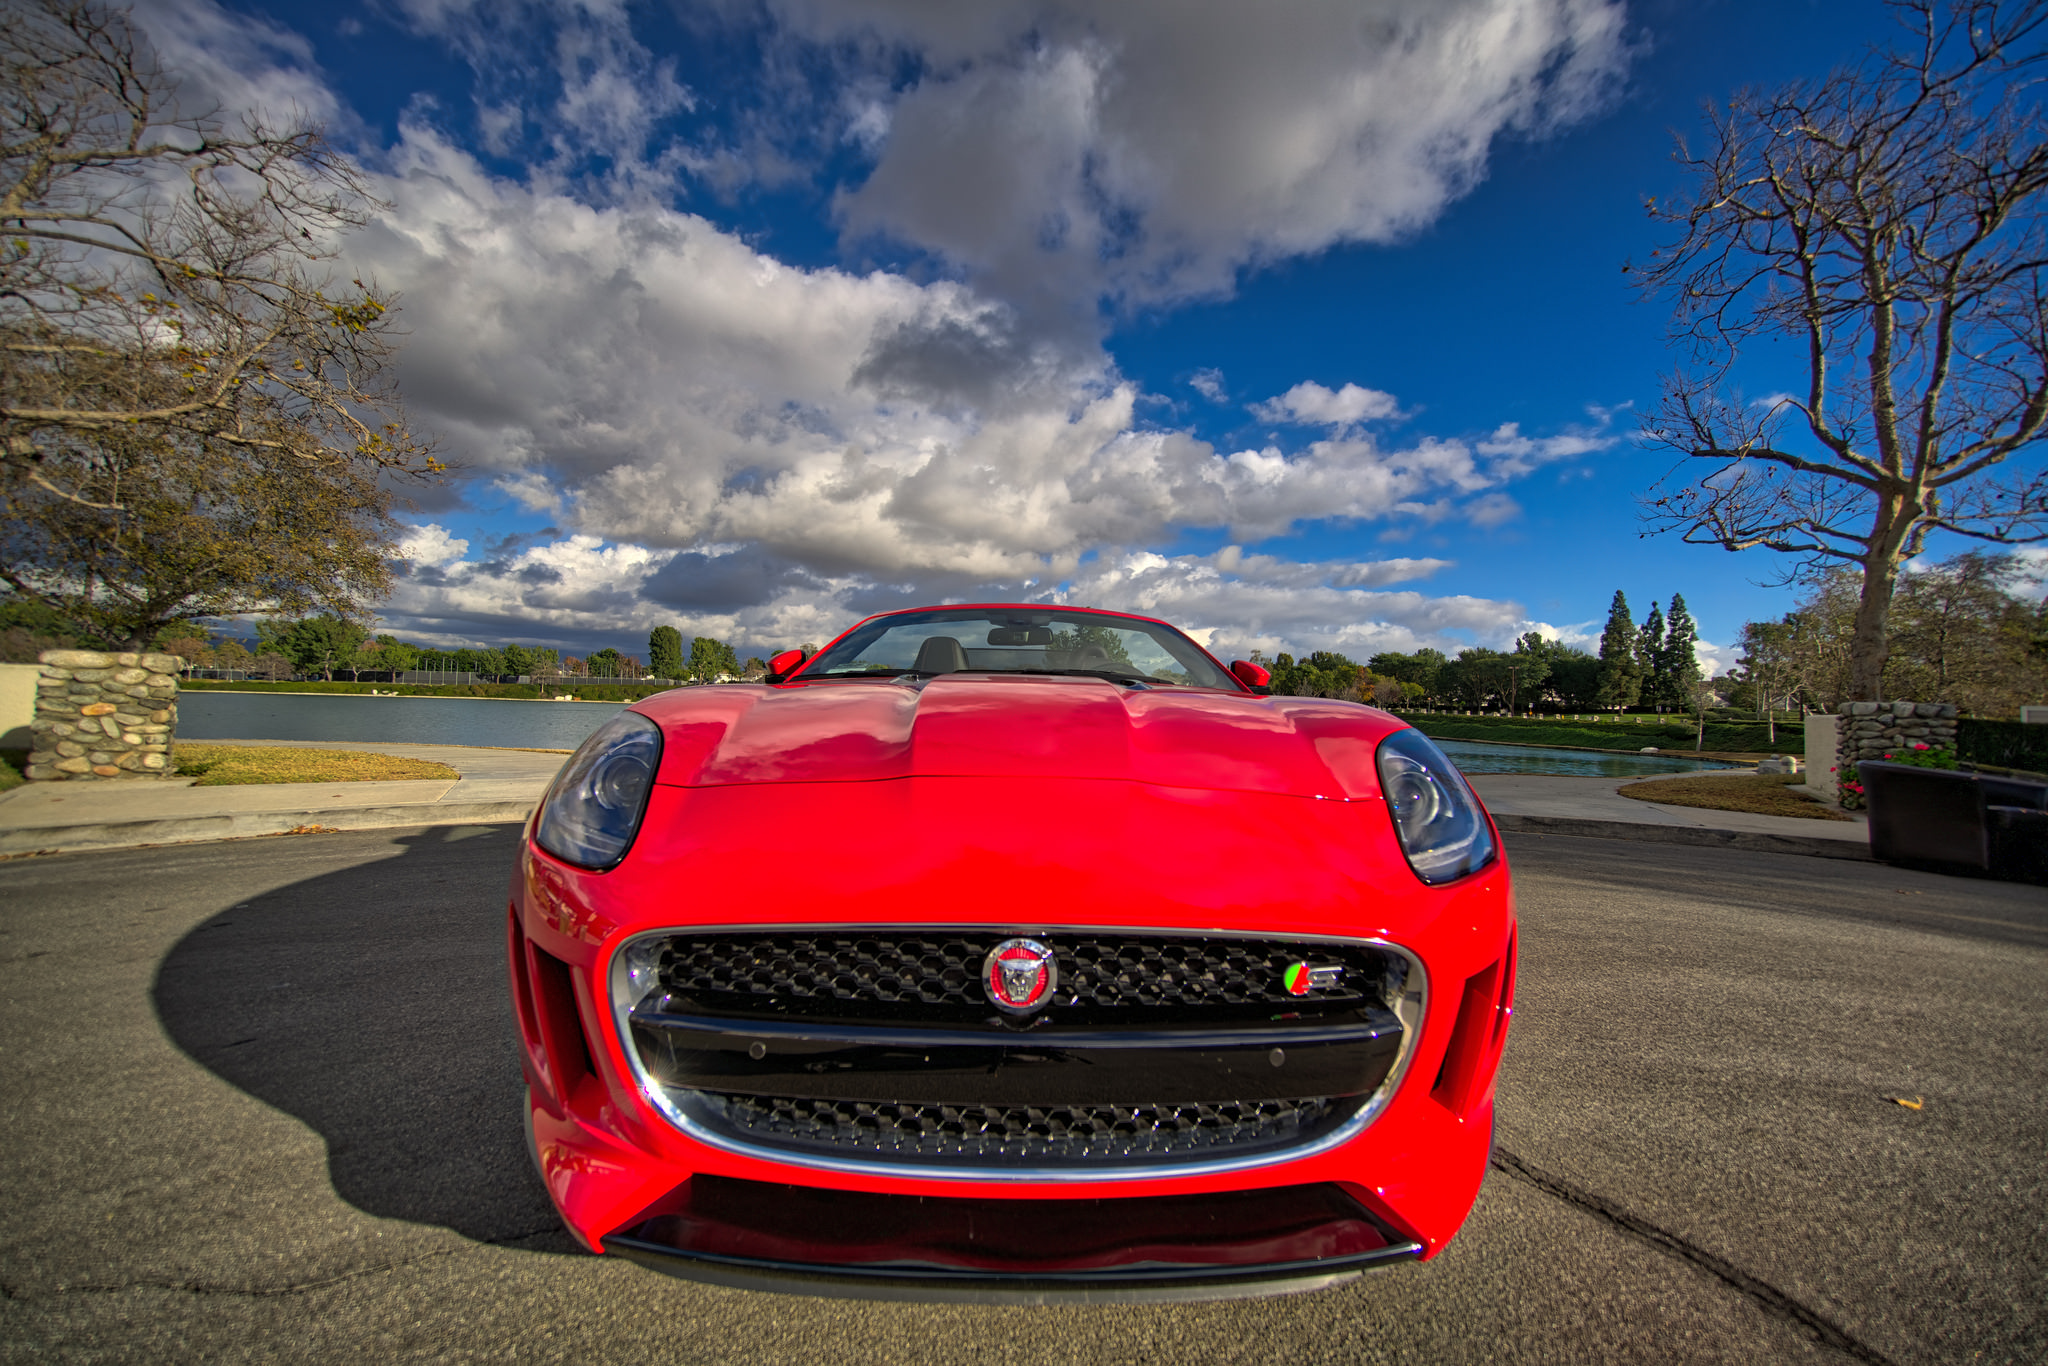
I created the below HDR photos by taking five bracketed photos of the car across a four stops EV range. This created a very bright, bright, medium, dark, and very dark photo. The photos were shot in RAW with the Sony A7R II. Each image was 50MB in size. The five photos were then loaded into Aurora HDR for processing. The final HDR images are below. Click on the image to view the larger (2048 pixel wide) sized photo. If you wish to download and view the full 42 Megapixel pictures, they’re on my Flickr page.