One of the most dynamic elements of the new blog design is the sharebar on the left side of the post. The bar offers a way for readers to share my blog posts on social media sites like Facebook and Twitter.
The social media widget has generated a lot of emails from readers asking where/how they can get the bar for their blogs. Fortunately, no custom coding is required because the sharebar is available as a WordPress plugin that you can download and install.
Written by DevGROW, the sharebar is fully dynamic. For most readers, the bar will appear on the left side of the blog post.

Readers using mobile devices or running monitors with resolutions below 1,000 pixels will see the horizontal sharebar.

Because it’s fully dynamic, you can see the switching from vertical to horizontal sharebar but simply resizing your browser to below 1,000 pixel.
Installing the sharebar is pretty painless: download the plugin, upload it to your plugins directory and activate it in the WordPress admin panel. The plugin is enabled automatically when you activate it so that’s really all there is to it.
Settings and Customization
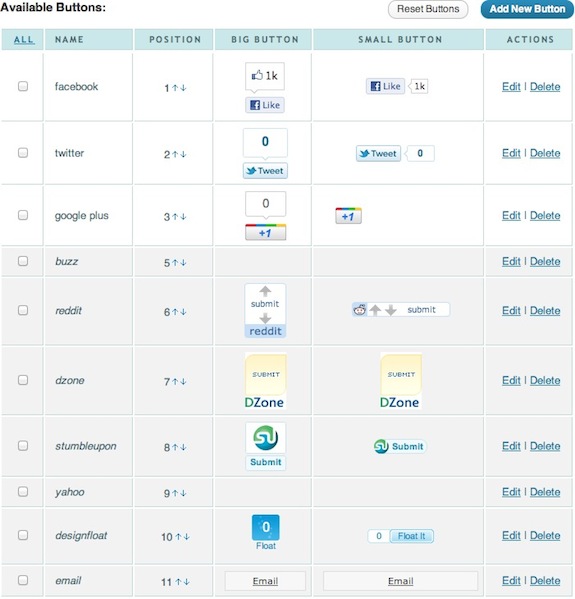
You can change nearly everything about the plugin from the Sharebar settings page. The main page displays all the active plugins. You can change their order, edit the button code or delete them. There is an option to add more buttons. The plugins comes preinstalled with seven social media sites, plus email. I’ve engaged Facebook, Twitter and Google Plus only.

You can change the way the Sharebar element itself looks by modifying the CSS file found in the plugin folder. This is where Unique Blog Designs came in. They tweeted the look and feel of the sharebar to match the new looks of the blog.