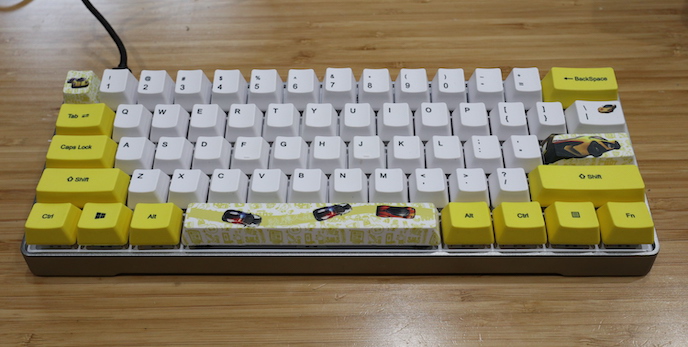
The keyboard is one of the most important elements of a great blogging setup. For the past few months, I’ve been on a search for the ultimate mechanical keyboard to write my blog posts with. However, I haven’t been able to find one that fits all my requirements. So, I’ve decided to build my own!
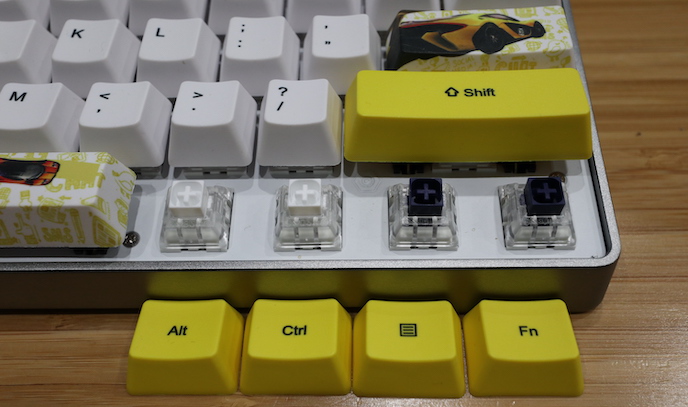
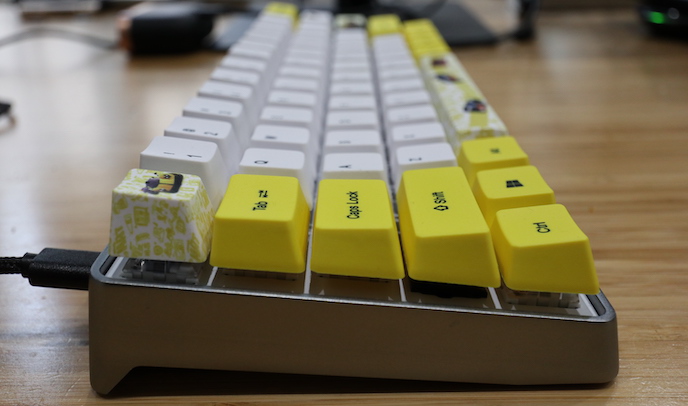
Building your own keyboard isn’t that hard, especially if you start with a hot swappable kit like the GK61 that I used for this build. The case has the PBC already installed and everything, including the RGB lighting, is wired up. All you have to do install the key switches and keycaps.

The GK61 includes the case, plate stabilizers, hot swap PCB, USB cable, and switch removal tools. The PCB is fully programmable with the GK software, and RGB offers 16.8 million color choices. The kit is compatible with all Cherry, Gateron, Kailh, and SMD Box key switches. Just insert the switches into the PCB and you’re set. No need for soldering.
There are tons of choices when it comes to keycaps. The caps I chose for this build were made from PBT plastic. PBT is a lot more durable than ABS plastic, and will last a lot longer. PBT also doesn’t develop that keyboard shine we all see after the keys have been hit a few thousand times. The letters on the keycaps are printed using a dye sublimation process instead of laser etching. Again, this creates a much longer lasting keycap.
Building the keyboard took me less than half hour. I spent way more time deciding on the components to use for the built. I am really happy with the end results. Total cost came to just under $140. While this might seem high for a keyboard, it’s actually less than many name brand mechanical keyboards from Logitech or Razer. For the blogger looking for the ultimate mechanical keyboard setup, I highly recommend building your own.